Showing posts with label glitter. Show all posts

Sunday, August 28, 2016


THANK YOU!


TEXTURE, 3-D AND GLITTER


I love to say thank you with a handmade card.  I think it shows how much you care because you can make it personal.  I try to use their favorite colors, designs, and themes.

While scanning the Jolee's boutique stickers at Michael's, I saw these adorable cherry blossom stickers.  I noticed them because they were 3-D and had tiny pearls and glitter accents.  I HAD to buy them.  I wasn't sure what I was going to use them on but I had to buy them.  Then when I was leaving the aisle, I saw a Sampler Pack from CANVAS HOME BASICS in pinks.  It caught my eye because of the pretty papers and especially the pink burlap.  Then I realized the stickers would look great with the papers and this card was created.
Friday, March 27, 2015


I have a lot of fun rubber stamping with one of my favorite Julie Nutting doll stamps.  This one is called "Mindy."  I like to stamp her a couple of times on white and/or beige card stock and then use my markers to color her in with different color combinations.  As always, I "toss in a little glitter" to accent her image.  I like to use white craft glue and a very fine paint brush to add touches of glue and then sprinkle with very fine glitter.  I also like to fussy cut around the doll stamp leaving a thin border.  This makes it easy to add her to greeting cards, gift tags, collages or just about anything you can think of.


Monday, March 16, 2015

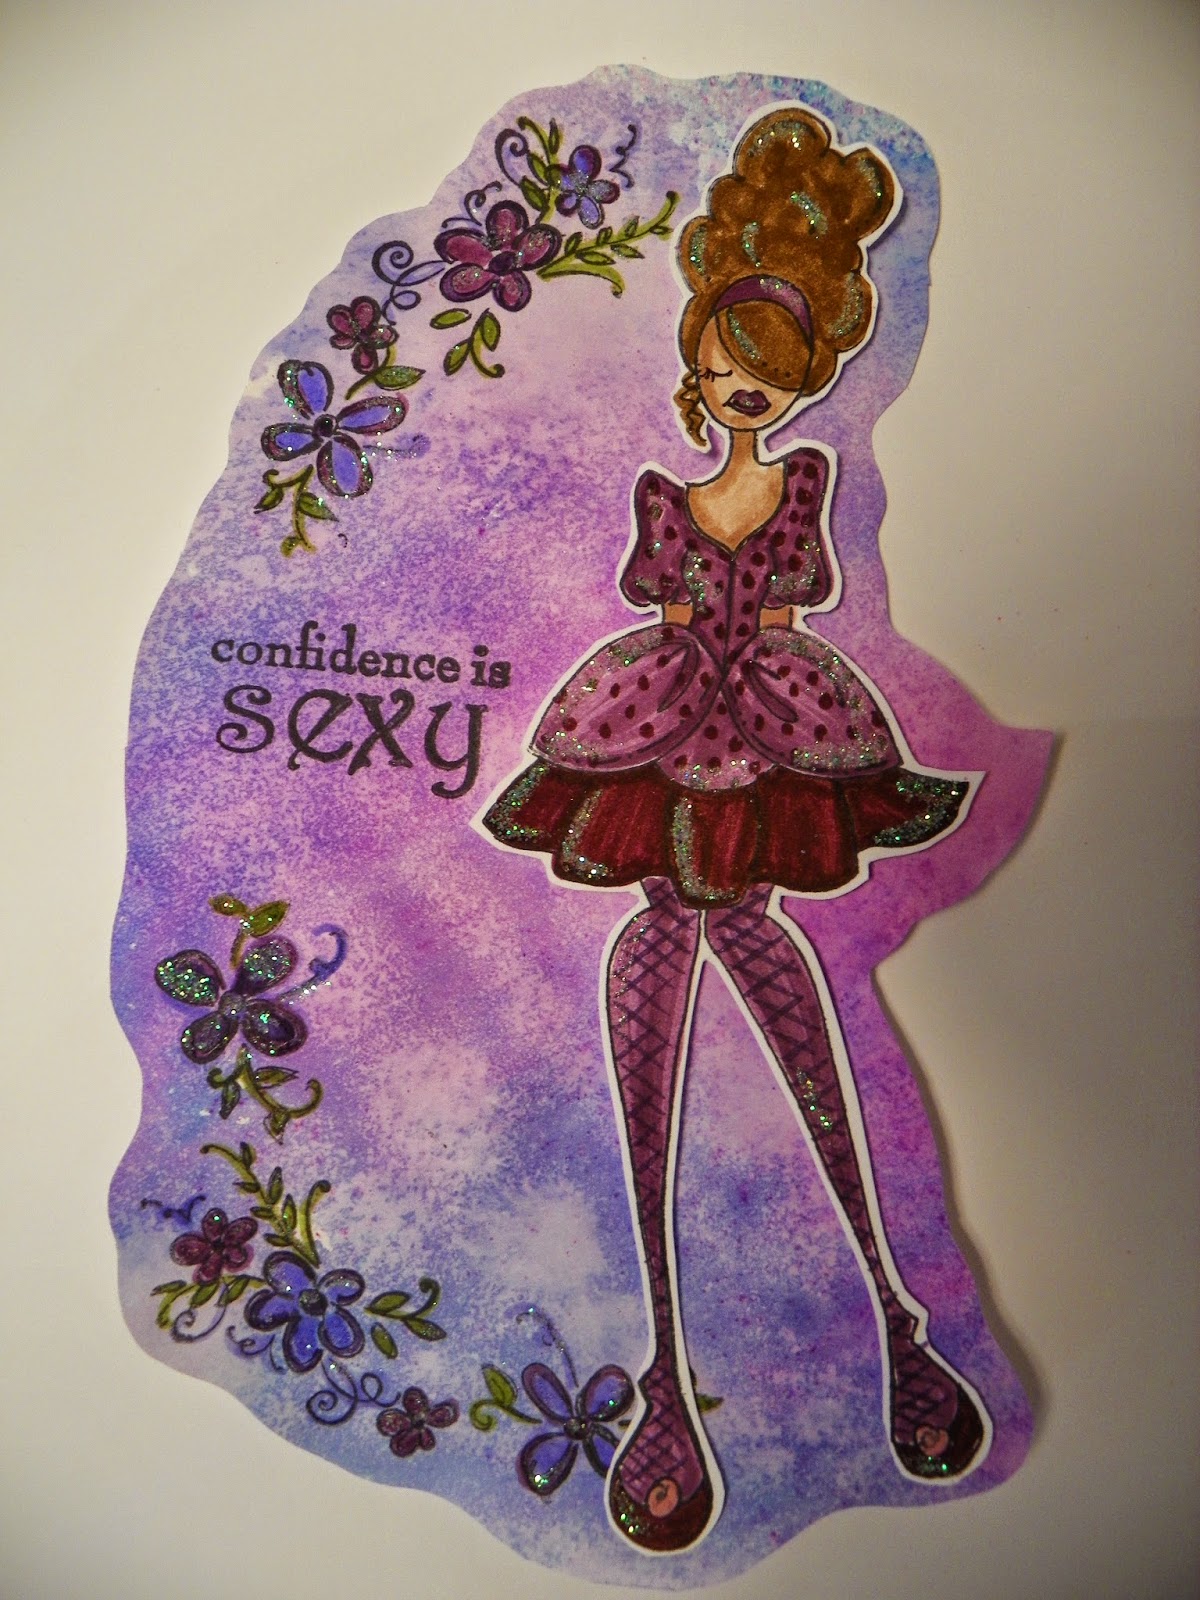
I finally purchased dylusions ink sprays in Cherry Pie and Funky Fuchsia.  I couldn't wait to try them out.  Let me just say, I love, love, love the colors.  I especially love the combination when using them with London Blue.  I played around a little bit with the ink sprays and stencils, added some flower stamps and my "go-to" girl stamp, colored everything with Marvy bright markers and this is the design I came up with.


Here is a close-up so you can see how I like to fussy-cut around my designs. I can then take this design and glue it on a blank greeting card.  I would also add colored gems to the center of some flowers for a fun look, add pop dots under the girl for a 3D effect, and maybe a little more glitter!


Hope you like this fun idea!

Sunday, March 15, 2015

Spring is just around the corner, but I came across some cute winter stickers in my stash that I just had to use.  I also had a blank picture frame sitting on my craft table that needed some pizzazz.  I found a sheet of scrapbook paper that would set off the stickers and then I was ready to craft.  Since the stickers were already glittered this was a quick and easy craft.


The bare wood frame was primed and left to dry.  Mod Podge was applied to the dry frame, scrapbook paper was attached and layered with more Mod Podge.  When the frame was dry, the excess paper was removed and the stickers were added.


Even though the snow on the ground is getting sparse and dirty and I know Spring is just around the corner, this is so much better to look at and it brightens my craft table!

Friday, February 20, 2015

I came across some beautiful and brightly colored art work recently that I just had to check out.  They were actually art journaling pages that were done by Dyan Reaveley.  I watched her videos and just had to share how much I love, love, love her attitude, sense of humor, artwork, stamps and stencils, and the vibrant color ink sprays!  Dyan's videos are great and very informative.  They immediately made me want to try my hand at journaling.  I have never attempted this craft before and I don't know why because it was fun, easy-to-do and a little messy.  My three favorite activities. 


Here is the finished page...


Close Up to Show Glitter Accents


Of course, after it was dry I had to "toss in a little glitter."  So much fun...I will definitely be doing this again!!


Sunday, February 15, 2015

The Beginning of a Dream...


Hello!  I have just entered the world of blogging and am looking forward to a new and exciting adventure.  I love the challenge of being creative and sharing what I have done or tips that I have learned to make crafting easier.  So I hope that my crafts will inspire creativity in you and we can share our experiences and ours dreams together.  


My dream craft was created by gluing pretty paper on chipboard letters.  I then cut some images from the same paper and 3D'd them on each individual letter.  I finished it off by tossing in a little glitter!


Visions of Sugar Plums